Whether you need a studio for test shoots and self-tapes, like me. Or you`re in the start of opening a business and need somewhere to photograph merchandise or you`re a photographer. Either way, I absolutely recommend my new setup. It takes less than an hour to put up (even the first time), every part has bags and boxes to bring them with you or put them away when you need the room for other purposes. And everything is just very easy to use. Trust me. If they weren’t, I wouldn’t be using them.

Where to put the setup
I would recommend you put it in the room you do most of your work in, for me that`s my home office. In that way you have access to your computer, notebooks, books, props and anything else you might need. And you`ll feel ready to work when you enter the room and will in a way take your studio more seriously. However, I would only recommend that placement if it also inhabits this next, and most important, qualification. Your studio should absolutely be placed across from a big window, or at least a window. Any natural light you can get is good, and in this case, the more, the better. That being said, what do you need for your studio?
A whitescreen and backdrop stand
This is essential for home photography as it gives you a clear and reliable base that can be edited in infinite amounts of ways. For test shoots, product shoots and self-tapes, this just elevates everything and takes a home shoot from pedestrian to professional.
For me I went with this set-up from Amazon.
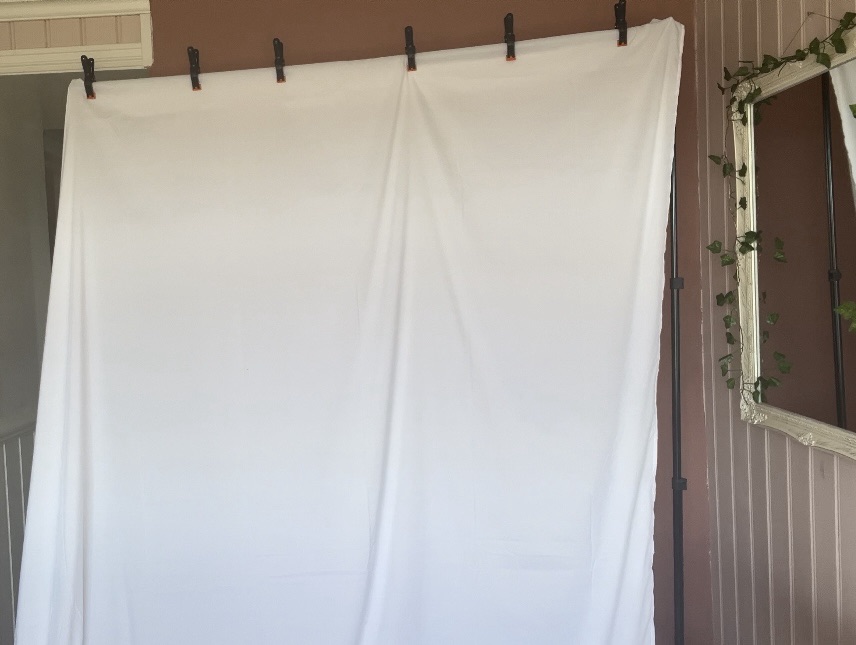
You can get the screen here (affiliate link) for just 18.99 and the stand here (affiliate link) for just 38.98 as it is currently on sale with a 22% discount! It was very simple to put together and I love that the stand came with clamps to hold the sheet. Even though the sheet has a rod pocket to hang it easier. Silly me didn’t realize that until right now of course, as I am reading up on it to make my post as informative as possible. So, if you do get this backdrop, you’ll definitely be more informed than I was.

For me length was the most important, and at 8×10 ft, it does not disappoint. They also have it in loads of other colors, if that`s of use to you.
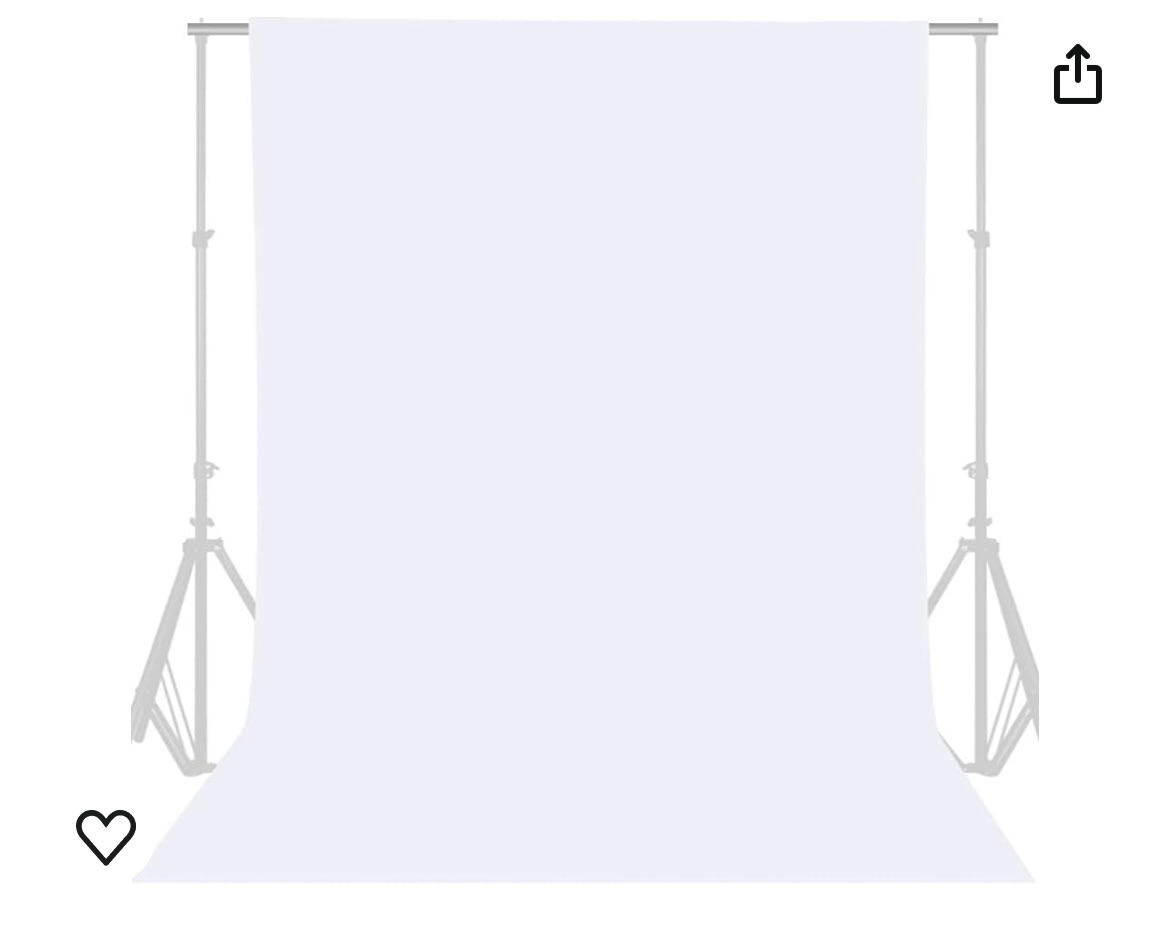
The stand is very large as well. On the photo you can tell that it`s taking up a bit of real estate. The height is very adjustable, and I only adjusted it to that level because I needed it to be taller than me and I`m 5 10 (1.78). The length on the other hand was actually the minimum. Makes sense since it can do group photos and stuff. I was just a bit surprised that it extended beyond my designated wall.


Lighting
Now, I’m a YouTuber, so I’m kind of married to my ring light. However, I knew that I needed something different for photoshoots and I thought “Hey, if I’m well lit, but in a more natural way in my next videos, that can’t hurt.” So, I bought this double set of dimmable led lights that you just plug into phone chargers (I know, it couldn’t be any simpler!) and tripods that to my surprise came with cell phone holders! They also came with adapters, so that you can plug it into a USB or a USB-C with ease.
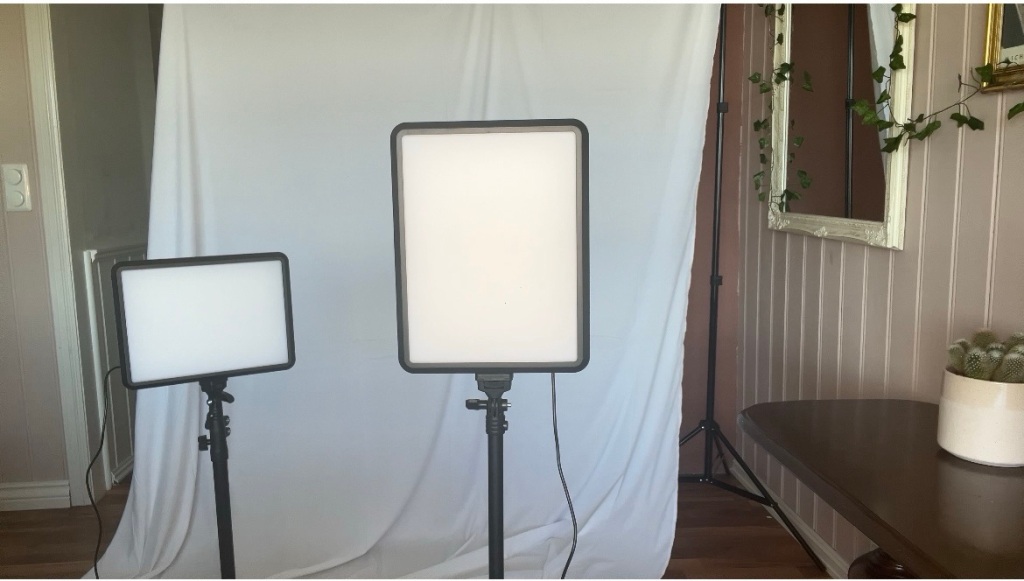

You can get the set here (affiliate link) for the very affordable price of 51.99.
And to prove to you that you really do get bang for your buck, look at how much the light changes my face in these photos.


That`s what a normal, tired, adult woman without make up looks like by the way.
Camera and tripod
If we`re shooting, we need something to shoot on. Since I’m a content creator, I decided to prioritize video when it came to choosing a camera. After careful consideration I went with a budget, yet heavy hitter, vlog and longform video camera. The Sony ZV-1F. And so far, I am really happy with that decision, especially being someone who is a complete novice when it comes to any camera that you can’t also text on. Let me know if you want a review! For now, let me just say that I did loads of research, so if you`re in a similar position as me, i.e. you’re taking content creation seriously, but you’re not about to drop several thousand on a camera you don’t understand, get the Sony ZV-1F! And thank me later. You can get it here (affiliate link) for 398 USD (which is a crazy sale and literally 200 less than what I bought it for two weeks ago.)
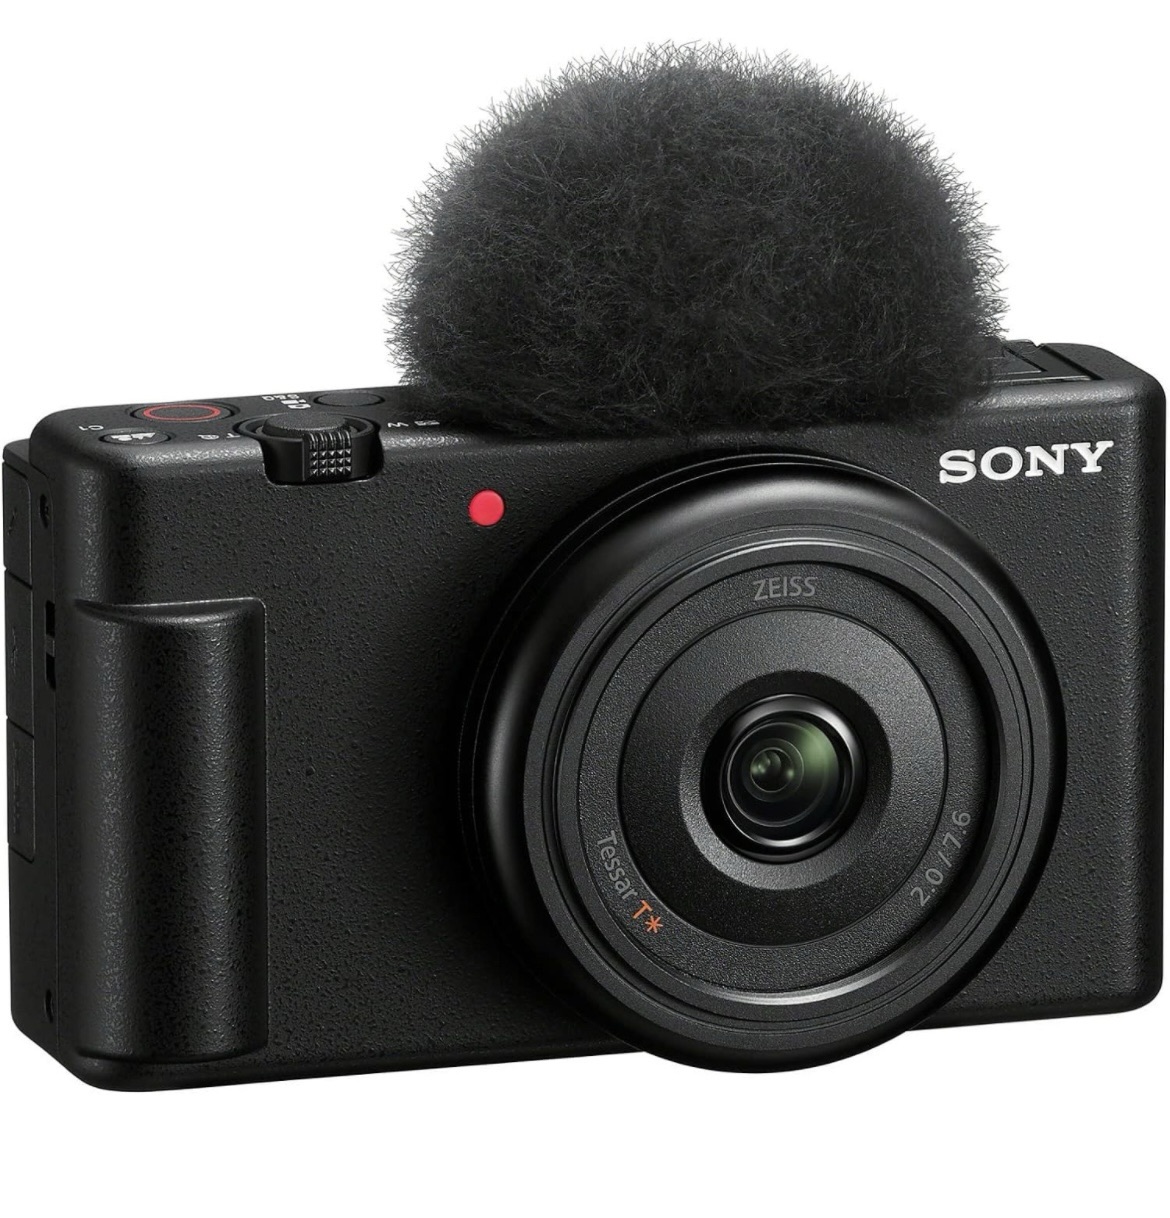
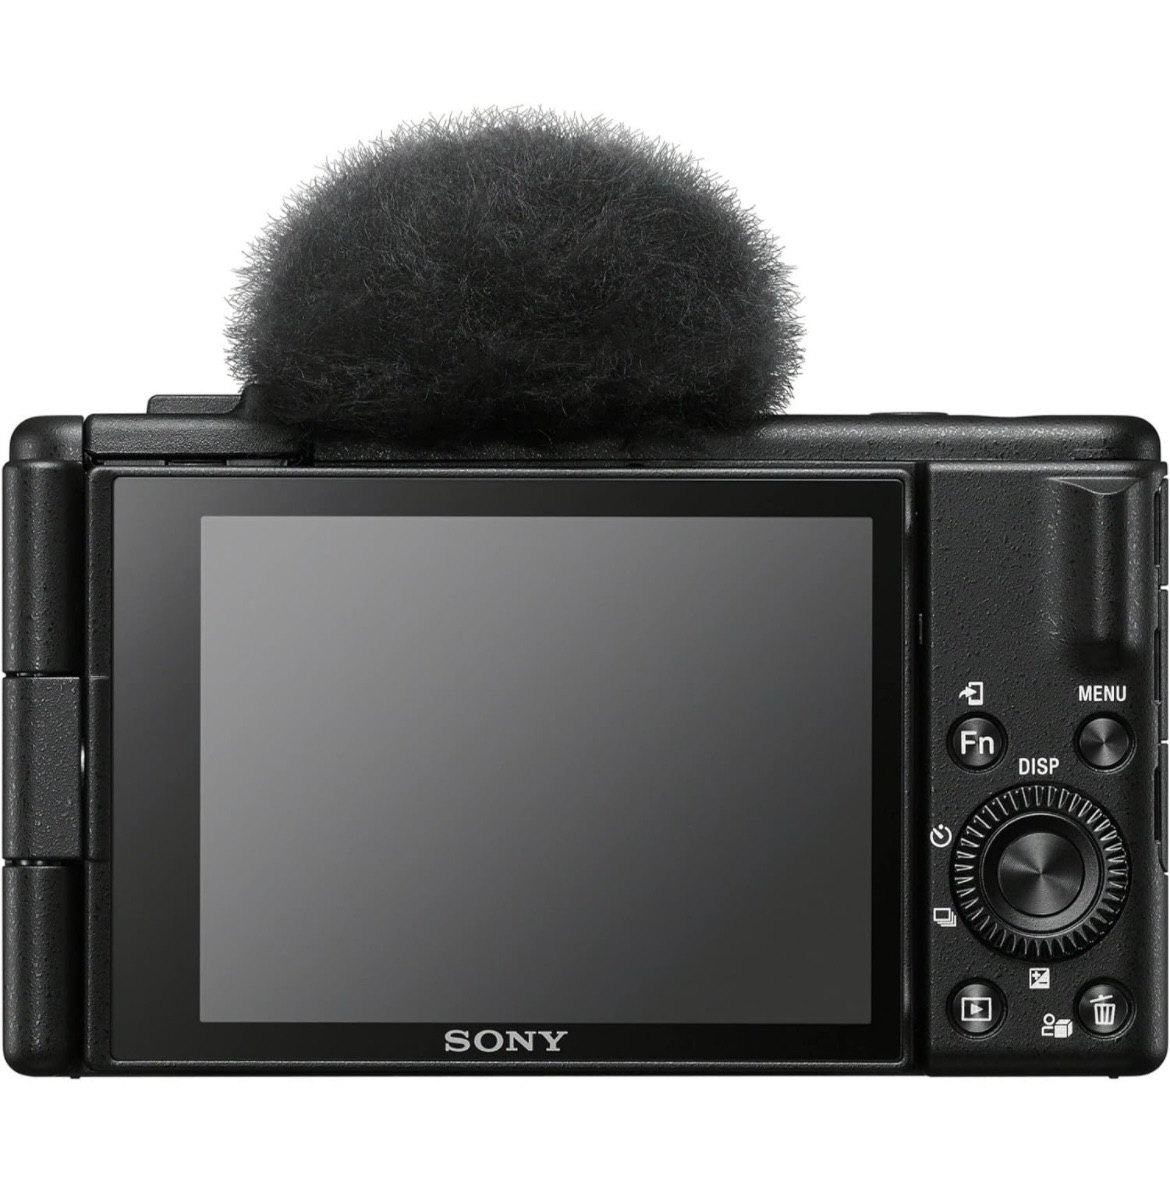
It comes with a wind cap for the mic and it has one of those screens that flip out so that whether you’re taking photos or filming, you can see yourself.
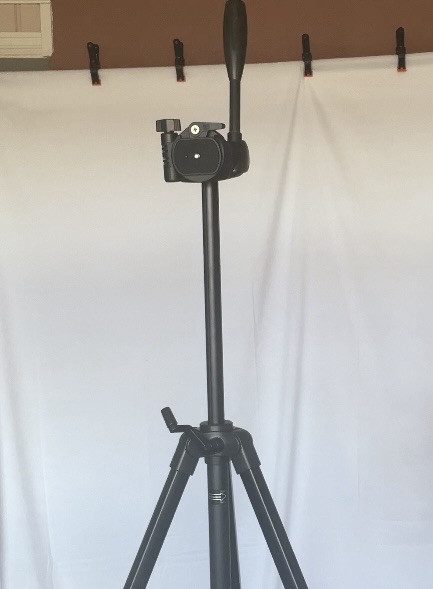
When it comes to the tripod, I use the Velbon ex-530, which I, honest to God, am a bit obsessed with. As you might have gotten by now, I absolutely have my fair share of tripods, so to be so blown away and frankly giggly, as I was unboxing this tripod, is not my normal, and says alot. Honestly, it’s just super robust and functional, while still being easy to hide away or carry. So yeah, kinda hits all the notes. Unfortunately, I could only find the Velbon ex-430 on Amazon. Though to be fair, it`s basically the same thing, it’s just a bit smaller. You can get that here (affiliate link) for 52.48. They also have a couple of options on there that are even bigger than the 530.

So that is my current setup. Let me know if you have any questions!
Love ya
Zoë

